This page is a Work in Progress
GOBLIN6 Forum Discussion
Looking to discuss Resident Evil 0? Post here.
Ecliptic Express
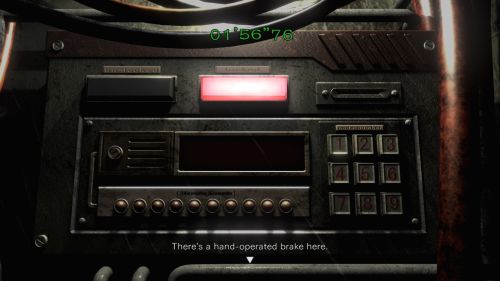
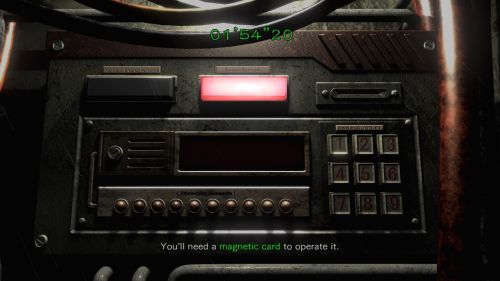
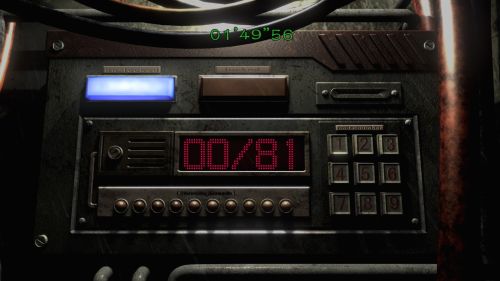
Activating the Emergency Breaks

POSSIBLE COMBINATIONS
- 36 - Enter the number 3 nine times, and then enter 9.
- 67 - Enter the number 7 nine times, and then enter 4.
- 81 - Enter the number 8 nine times, and then enter 9.
- 42 - Enter the number 4 nine times, and then enter 6.
- 53 - Enter the number 5 nine times, and then enter 8.
- 67 - Enter the number 7 nine times, and then enter 4.


Weapons
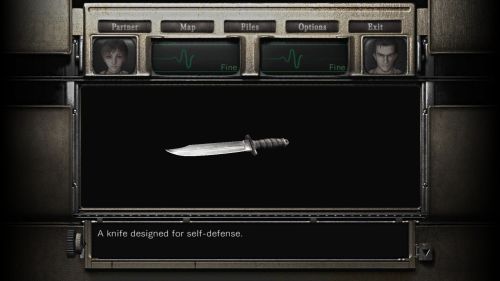
This is a standard hunting knife with a serrated edge, such as those issued to most police and military personnel. This light-damage, close-range melee combat weapon is completely ineffective against the victims of the T-virus outbreak in Raccoon City. However, it's still a good self-defense weapon if your ammunition runs out. This weapon can be found on the Train, and Billy is carrying one.

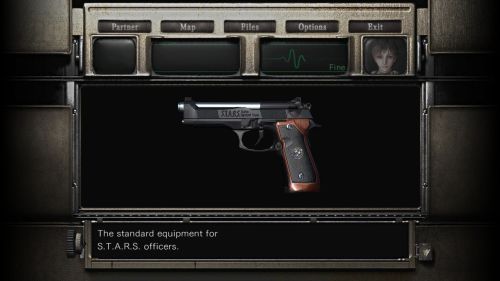
This is a custom handgun modified and engraved for issue to S.T.A.R.S. officers. S.T.A.R.S. commander and gun enthusiast Barry Burton contracted a local gunsmith, Robert Kendo, to create a line of elite handguns for use by the Special Tactics And Rescue Service. The gun has a double safety lock to prevent use by criminals in case of theft. This automatic handgun is also designed with a special sliding bridge, which prevents jamming. Rebecca's
weapon is a capable firearm for disposal of T-virus infected zombies, Cerberus dogs, crows, and other minor enemies encountered throughout the game. With each successive shot fired, there's a very slight chance that the handgun will blow off a zombie's head, resulting in a full decapitation and an instant kill.

- MILITARY POLICE ISSUE 9MM HANDGUN
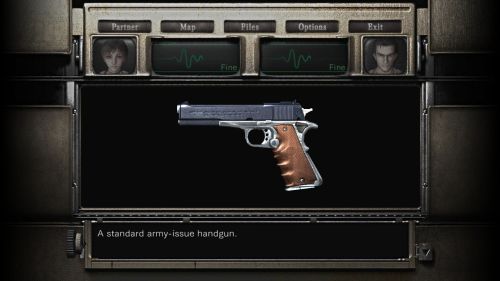
This is a standard-issue Army automatic handgun, which fires 9x19mm parabellum rounds. Billy's acquired pistol is best suited for suppressing zombies, Cerberus dogs, crows, and other minor enemies. The military model has a slight chance of exploding a zombie's or Cerberus dog's head, causing an instant kill. Billy's handgun has a slightly better chance of inflicting an instant kill than Rebecca's S.T.A.R.S. model.

This is a scope and scope mount that can be attached to any automatic sliding-chamber handgun to increase its range, firing speed, and precision. Combine the Handgun Parts item with either handgun to improve a character's ability to kill and decapitate zombies and Cerberus dogs, and to eliminate tougher monsters more effectively. The Handgun Parts are locked inside the Duralumin Case, found in the locker of the combat test area on B3 of the Facility Basement.

This is a .50 caliber automatic Desert Eagle brand handgun capable of firing large-millimeter Magnum rounds. The weapon's powerful recoil causes a moment of recovery on the part of the user. The Magnum is without a doubt the most lethal handgun in the game, killing most monsters in one shot. However, due to its effective killing capabilities, the Magnum is best reserved for the more resilient Hunters and the tough boss monsters encountered during key events in the game. The Magnum is located in the cable car, docked in the B2 machine room of the Laboratory.

This is a .50 caliber revolver modified by S.T.A.R.S. resident weapons expert Barry Burton, with much greater firepower resulting from an enhanced cylinder and frame. Dubbed the "hand cannon," this Magnum is much more powerful than the Desert Eagle automatic model, and the user gets more bang per bullet. The Magnum revolver is the prize for obtaining a Rank B in the bonus Extra Game. Once you reach this rank, start a new game and enter Cabin 202 on the third car of the Train. The gun is next to the dead man on the bunk.

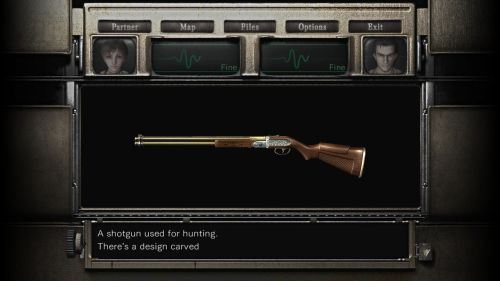
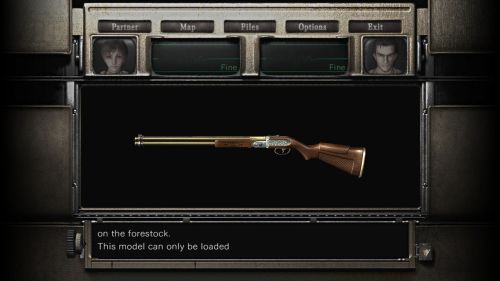
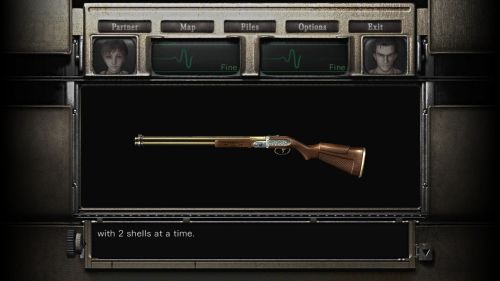
This is a Western-style shotgun that can hold only two shots in the barrel before requiring a reload. The Hunting Gun is an older weapon, but it's still compatible with most 12-guage shotgun
shells. This is a powerful weapon, with higher damage and range due to its extended barrel. This weapon is good for confrontations
against zombies, Hunters, Plague Crawlers, and other tough monsters. However, due to its limited cartridge capacity and the need to reload constantly, this is not a practical weapon for a survival horror situation. While this weapon will be immensely helpful against the enemies you encounter on the Train, the pump-action shotgun is a much better weapon. The Hunting Gun is found in Train Car No.2, inside the 2F First Class Cabin 101.


This is a pump-action shotgun capable of firing 12-gauge shells in a burst pattern, damaging all enemies in a cone shaped radius in front of the shooter. The shotgun can be loaded with up to seven shells at a time, and its greater firepower enables the character to eliminate easy foes such as zombies, flocks of crows and bats, and Plague Crawlers. The shotgun is even an effective weapon against extremely bizarre mutants such as Humanoid Leeches and even Hunters, until better weaponry can be acquired. It's located in the art storeroom in the Training Facility, on 1F in the east wing.

This is a hand-held launcher device that can fire a variety of 20mm explosive shells. In spite of its six-shot revolving cylinder, the grenade launcher can be combined with up to 255 grenades of any type and will fire continuously without the need to reload. Normal grenades are highly effective against all normal enemies.
Acid grenades are best used against Hunters and Plague Crawlers. Incendiary napalm grenades are most effective against Humanoid Leeches and zombies. The grenade launcher is located in the second-floor studio on the east side of the Training Facility.

This portable, snub-nosed weapon uses its own type of ammunition. You obtain the Sub-machinegun by completing the game in a short amount of time and obtaining Rank A or better. When fully loaded, the Sub-machinegun fires a continuous stream of bullets while the Action button is held. During shooting, you can rotate the aim of the Sub-machinegun left or right, up or down in a circle in front of the character. Ammunition is counted as a percentage, with 100% ammunition equaling approximately 300 bullets. Magazines containing additional machinegun ammo can be added to the main game by obtaining Rank E during the bonus Extra Game. You can give the Sub-machinegun unlimited ammo by winning the Rank A prize in the Extra Game. The Sub-machinegun is an effective tool against most types of enemies, but it's not as ineffective against fast-moving mutants such as Plague Crawlers and Hunters.

This is a shoulder-mounted projectile weapon that launches long-range missiles at targets. The intense amount of dam age inflicted by this heavy weapon destroys any normal enemy in one hit and allows the user to defeat most boss
monsters with four shots or less. The rocket launcher is a two-slot bonus weapon that is acquired by beating the game in less than 3.5 hours with a Rank S. It will appear in Rebecca's inventory in your next game. The ammunition for this weapon is unlimited, and finishing the game again becomes a simple matter.

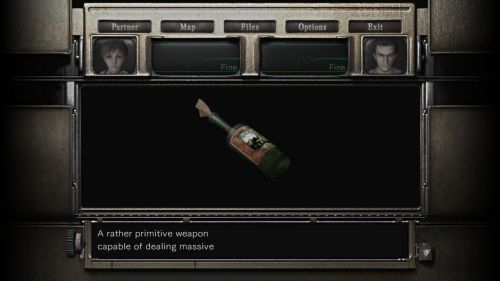
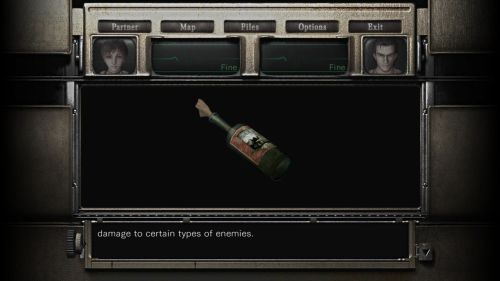
Rebecca and Billy can assemble these crude, handmade gasoline firebombs by combining Empty Bottles with Gas Tanks. A gasoline-soaked rag is stuffed into the bottleneck and lit. When a character tosses a Molotov at a target, the glass bottle shatters and the enemy is covered with burning gasoline. (The weapon is named after Vyacheslav Molotov, who was the Foreign Minister and Secretary of War of the Soviet Union during World War
II. The soldiers of the Finnish Army successfully used Molotov Cocktails against Soviet tanks during their brief skirmishes against Russia, and the Soviet soldiers coined the term.) As a rule, these weapons should be conserved for use against Humanoid Leeches and Plague Crawlers.


Ammunition
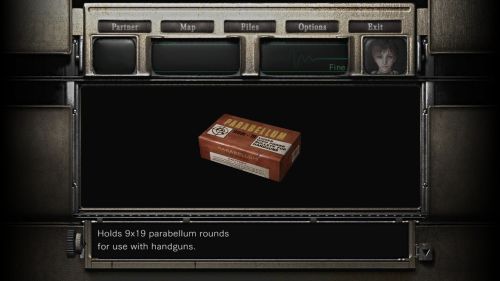
These are 9x19mm Luger high-power parabellum rounds, for use in any automatic handgun. They come in boxes of 15. In rare instances, you may find boxes with 30 bullets.

These are 12-gauge burst-pattern shotgun shells, for use in any compatible shotgun. They come in steel military-grade shotgun shell boxes, seven to a box.

These are jacketed flat-point magnum rounds for use in high-caliber hand guns to provide greater stopping power. Magnum rounds come in small boxes containing eight bullets.

These are 20mm explosive-tipped shells filled with standard-grade plastic explosives, designed to fragment on impact. Grenades are packed in steel carrying cases, six each.

These are 20mm explosive-tipped shells filled with highly concentrated sulfuric acid. On impact, the shell collapses, splattering the target with corrosive materials. Found in quantities of six.

These are 20mm shells with explosive tips filled with a highly flammable liquid. Upon impact, the shell detonates and ignites the fluid, which splatters on the target. The enemy is consumed in flames for several moments, inflicting damage while the flames last. Found in quantities of six.

This is one of two materials required for crude Molotov Cocktails. Empty Bottles are usually found in quantities of three. Combine with gasoline to produce hand-thrown liquid firebombs.

Contains gasoline, one of two materials required to create crude Molotov Cocktails. Gas Tanks may contain enough gasoline to fill anywhere from three to six empty bottles.

This is large magazine of ammunition for a semiautomatic-class machine gun or sub-machinegun. Ammunition quantity is measured in percentages, with each clip supplying 100% ammunition. Only one clip may be carried per item slot. Machinegun ammo appears in various locations throughout the game after the player has obtained the Rank E prize from the bonus Extra Game.

Recovery Items
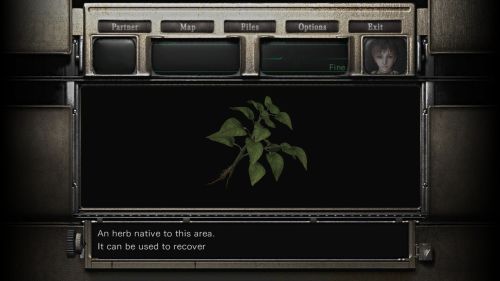
This is green plant native to this region that restores a small amount of health to an injured character. An experienced field medic can grind and combine two or even three green herbs to increase the potency of the dosage. Green Herbs can also be combined with Blue Herbs to form a powerful mixture that restores health and cures poisoning. It can also be combined with the mysterious Red Herb to fully restore a person to health, even from the brink of death.

This is blue plant native to this region that can cure poisoning. If it's administered to a poisoned character quickly enough, no damage will result from the toxicity. Blue Herbs can be ground by an accredited field medic and combined with Green Herbs and Red Herbs to form complex curative and restorative compounds.

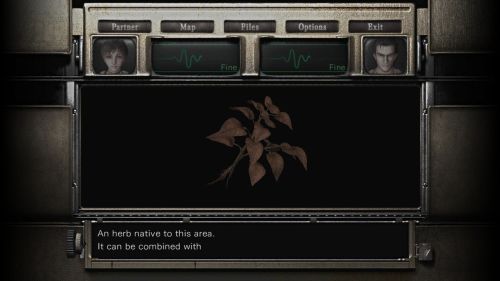
This is a red plant native to the Raccoon Forest region that has no particular effect its own. However, when ground to powder and combined with other herbs by an experienced field medic, this herb will increase the potency of mixed herb compounds. A Red Herb can be mixed with a Green Herb, or a Green Herb and a Blue Herb. However, a Red Herb combined with a Blue Herb alone won't have any effect. When a Red Herb is used in a mixed compound, the final product restores the user to full health.

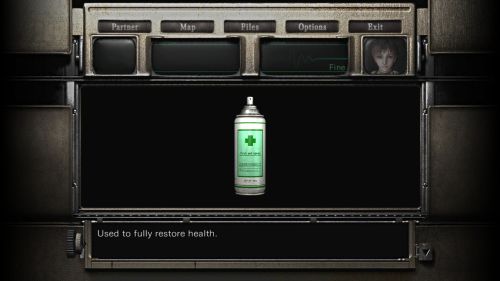
This chemical antibacterial spray can restore a person to full health. These items are hard to find and should be conserved for battles against extremely tough boss monsters.

Key Items List
| Location
|
| Inside the Book of Good in the Training Facility 2F West wing private collection.
|
| Where It's Used
|
| The wing portion of the Statue of Good.
|

| Location
|
| Play the piano to open the secret room in the Training Facility 2F east wing lounge.
|
| Where It's Used
|
| Powers the lift outside the Training Facility, on the first floor outside the front doors.
|

| Location
|
| Training Facility 1F, northeast storage room in the east wing.
|
| Where It's Used
|
| The body portion of the Statue of Evil.
|

| Location
|
| Inside the Book of Evil.
|
| Where It's Used
|
| The wing portion of the Statue of Evil.
|

| Location
|
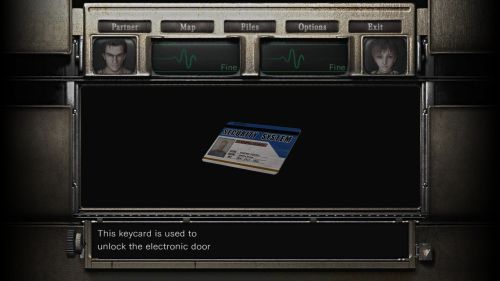
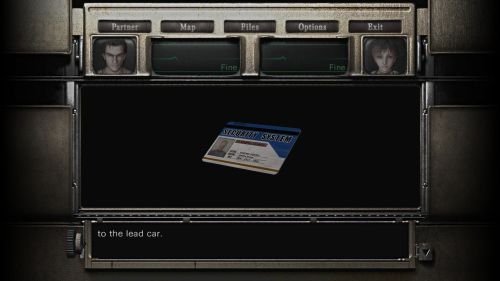
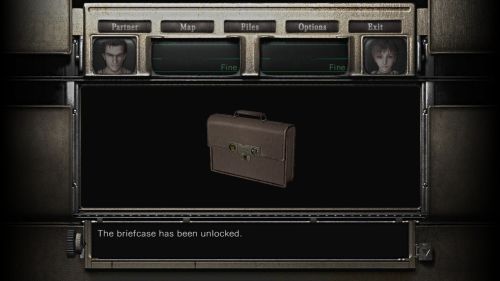
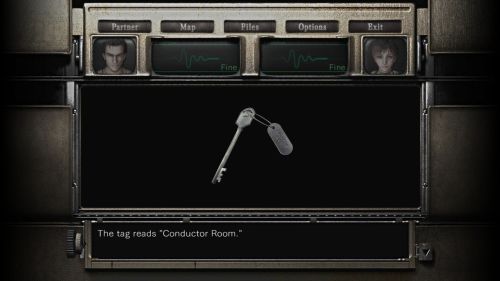
| Inside the Briefcase in the conductor's Office.
|
| Where It's Used
|
| Unlocks the door at the front of Car No.2, 1F.
|


| Location
|
| Use the Stripping Agent to dissolve the Leech Capsule.
|
| Where It's Used
|
| Unlocks the blue door with an engraving of Marcus, in the corridor on Laboratory B2.
|

| Location
|
| Training Facility 2F west wing, Marcus's Office, hidden under the chess board on the desk.
|
| Where It's Used
|
| Contains the Black Wing.
|

| Location
|
| Training Facility 2F West wing, private collection room, behind the bookcase.
|
| Where It's Used
|
| Open it to find the Angel Wings.
|

- Breeding Room Key Location
| Location
|
| Laboratory B1, Marcus's lab, inside the poison gas tank.
|
| Where It's Used
|
| Unlocks the door to the breeding room, in the corridor on Bl of the Laboratory.
|

| Location
|
| Cabinet in Conductor's Office, Train Car No.2, IF
|
| Where It's Used
|
| Contains the Blue Cardkey.
|


| Location
|
| Window sill of service compartment, 2F of Train Dining Car.
|
| Where It's Used
|
| Unlocks Conductor's Office in Car No.2, 1F.
|

| Location
|
| Training Facility 2F, sitting room on the west side of the entrance hall balcony.
|
| Where It's Used
|
| Required part of the crank for the lift in the Training Facility 2F research library
|

| Location
|
| Laboratory B1 breeding room, inside the Hunter's cage.
|
| Where It's Used
|
| Insert into the door in the Laboratory B2 corridor, and then input the pass code to unlock the door.
|

| Location
|
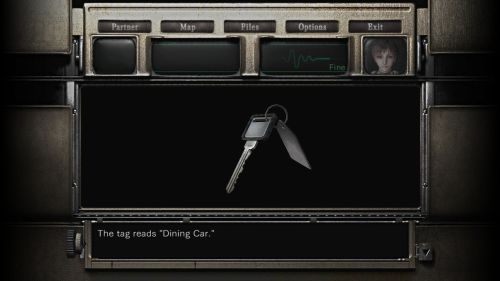
| Hand of the dead body in Train Car No.2, 1F.
|
| Where It's Used
|
| Unlocks Train Car No.5, the Dining Car.
|

| Location
|
| On top of the column in the Training Facility IF front courtyard. Use the crate from the lift to reach it.
|
| Where It's Used
|
| One of three tablets used to lower the observatory from Training Facility 3F to 2F.
|

| Location
|
| Facility Basement B3, combat test control room locker.
|
| Where It's Used
|
| Use the combination 385 to open the case and obtain the Handgun Parts.
|

| Location
|
| Factory B4, on the floor at the end of the west corridor.
|
| Where It's Used
|
| Calls the elevator on the east end of Factory B4.
|

| Location
|
| Treatment Plant B9 specimen room. Give Rebecca a boost to the high shelf near the specimen tanks.
|
| Where It's Used
|
| Combine with the Battery Fluid to make the Hi Power Battery.
|

| Location
|
| Training Facility 3F, trapped under the cage in the breeding pool.
|
| Where It's Used
|
| Unlocks the two red doors on the first floor of the Training Facility, one to the kitchen and the other to the projector room.
|

| Location
|
| The dog pen at the back of Train Car No.5, storage room.
|
| Where It's Used
|
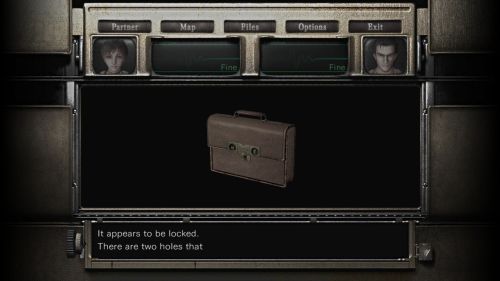
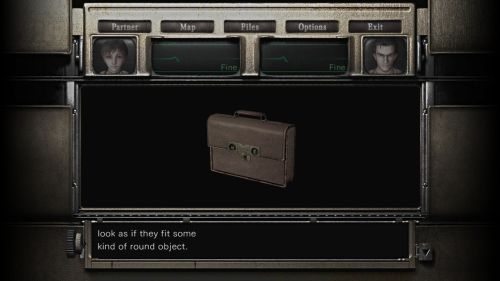
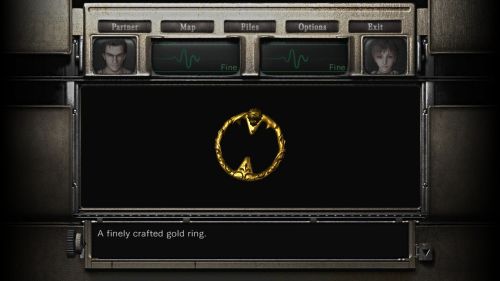
| One of two rings required to open the Briefcase.
|

| Location
|
| Laboratory B2, artwork storage room, held in the statue's hand.
|
| Where It's Used
|
| Unlocks the engraved green door in the Laboratory B1 operating room.
|

| Location
|
| Treatment Plant B7, on the east side of the water tank room.
|
| Where It's Used
|
| Unseals the door with the square hole in the corridor in Treatment Plant B6.
|

| Location
|
| Combine the Battery Fluid and Empty Battery
|
| Where It's Used
|
| Insert into the power panel on the forklift on B7 of the Treatment Plant.
|

| Location
|
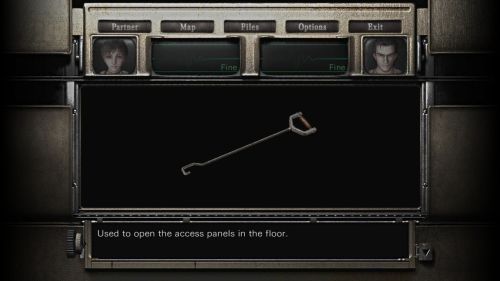
| Rear platform of the Train Dining Car, mounted on the outside wall.
|
| Where It's Used
|
| Used in several locations throughout game to rise through holes in the ceiling or to climb onto the Train roof.
|

| Location
|
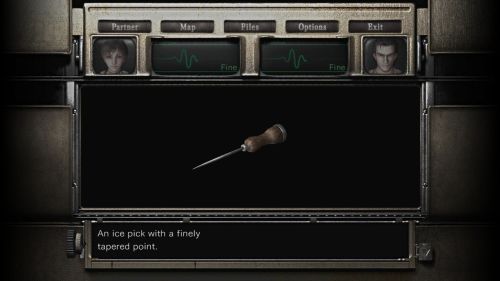
| Service cart in hallway, Train Car No.2, 2F.
|
| Where It's Used
|
| Unlocks the stuck service compartment door in Train Dining Car 2F.
|


| Location
|
| Treatment Plant B8 experimental data room, on the table across from the blue chemical cylinder.
|
| Where It's Used
|
| Combine with Sulfuric Acid to make Battery Fluid.
|

| Location
|
| Laboratory B2, Marcus's office, on the shelves near the south door.
|
| Where It's Used
|
| One of two regulator coils required to provide power to the cable car control panel.
|

| Location
|
| Training Facility 2F, West wing study, on the horn of the moose head mounted over the fireplace.
|
| Where It's Used
|
| Attach it to the clock face in the Training Facility 3F clock room and set the time.
|

| Location
|
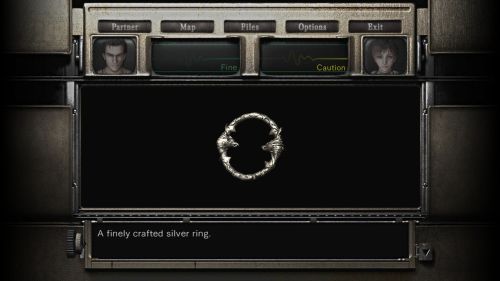
| Closet in First Class Cabin 102, Train Car No.3, 2F.
|
| Where It's Used
|
| Contains the Silver Ring.
|


| Location
|
| In the Treatment Plant B7 courtyard, insert the Hi-Power Battery into the forklift and raise your partner up to the cliff's edge.
|
| Where It's Used
|
| Unlocks the door with the card reader at the west end of Treatment Plant B9.
|

| Location
|
| Laboratory B1 leech specimen lab, in the glowing case.
|
| Where It's Used
|
| Dissolve with the Stripping Agent to obtain the Blue Leech Charm.
|

| Location
|
| Training Facility IF east wing, on the kitchen counter.
|
| Where It's Used
|
| Refills Billy's Lighter to make it usable in puzzle-solving.
|

| Location
|
| Facility Basement B3, on the crates in the water drainage room.
|
| Where It's Used
|
| Unlocks the locker in the Facility Basement B3 combat test area control room.
|

| Location
|
| Training Facility IF west wing projector room.
|
| Where It's Used
|
| Place the two Microfilms into the projector. Initializes the code input process for the Training Facility 2F lecture hall, to open the doors guarded by the knights.
|

| Location
|
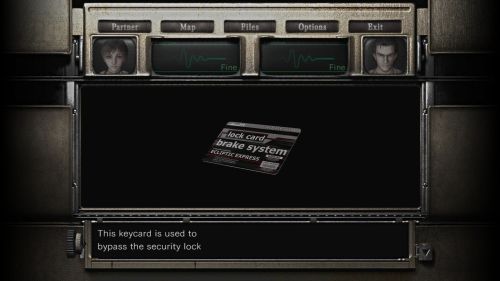
| Train Car No.1, Engine Cab.
|
| Where It's Used
|
| Initiates the emergency brake override panel on the rear platform of TrainCar No.5.
|

| Location
|
| On the bureau near the western door of the research library, Training Facility 2F west wing.
|
| Where It's Used
|
| One of two microfilms to be inserted into the projector in the projector room, Training Facility 1F west wing.
|

| Location
|
| Training Facility 2F conference room, on the east side of the entrance hall balcony. The
item is sitting on the fireplace mantle.
|
| Where It's Used
|
| One of two microfilms to be inserted into the projector in the projector room, Training Facility IF West wing.
|

| Location
|
| Treatment Plant B8, on the floor beneath the circuit board in the eastern circuitry room.
|
| Where It's Used
|
| Restores power to the gondola car system on B7 of the Treatment Plant.
|

| Location
|
| Release the vise in the Training Facility 2F east wing machine shop.
|
| Where It's Used
|
| One of three tablets used to lower the observatory from Training Facility 3F to 2F.
|

| Location
|
| Laboratory B2, cable car platform, on the mobile bridge tracks, after moving the bridge.
|
| Where It's Used
|
| One of two regulator coils required to provide power to the cable car control panel.
|

| Location
|
| Amid debris left by the Stinger monster, Train Car No.2, 2F.
|
| Where It's Used
|
| Opens the floor panel at the back of the kitchen in the Train Dining Car, F.
|

| Location
|
| Treatment Plant B9 microwave incinerator room. Defeat the Queen Leech boss and it will drop this..
|
| Where It's Used
|
| One of two keys required to unlock the doors to the escape route on B9 of the Treatment Plant.
|

| Location
|
| Treatment Plant B9 microwave incinerator room. Defeat the Queen Leech boss and it will drop this.
|
| Where It's Used
|
| One of two keys required to unlock the doors to the escape route on B9 of the Treatment Plant.
|

| Location
|
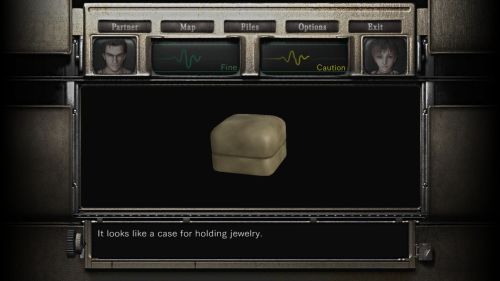
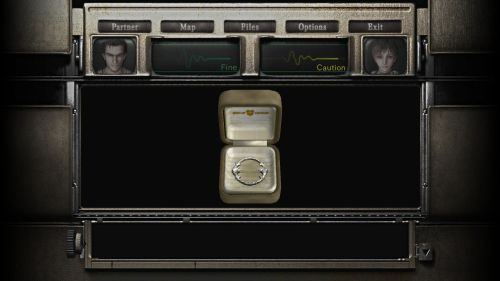
| Inside the Jewelry Box found in Train Car No.3, 2F.
|
| Where It's Used
|
| One of two rings required to unlock the Briefcase.
|

| Location
|
| Combine the Black Statue with the Black Wing.
|
| Where It's Used
|
| Place on the scales of justice in the Training Facility 2F entrance hall to open the secret doorway to the Facility Basement.
|

| Location
|
| Combine the White Statue and the Angel Wings.
|
| Where It's Used
|
| Place on the scales of justice in the Training Facility 2F entrance hall to open the secret doorway to the Facility Basement.
|

| Location
|
| Laboratory Bl mortuary, near the tables at the south end.
|
| Where It's Used
|
| Decontaminate the poison gas in the test tank of Marcus's lab on Laboratory B1.
|

| Location
|
| Facility Basement B2, in the decorative fire place in the ruined bedroom.
|
| Where It's Used
|
| One of three tablets used to lower the observatory from Training Facility 3F to 2F.
|

| Location
|
| Factory B1, on the floor in the platform security control room.
|
| Where It's Used
|
| Insert into the control panel in the Factory 1F platform control room to raise the platform elevator to the top level.
|

| Location
|
| Training Facility 2F, on the shelf in the east wing security monitor room.
|
| Where It's Used
|
| Release the vise in the Training Facility 2F east wing machine shop.
|

| Location
|
| Facility Basement B3 combat test room, in the BOW pen.
|
| Where It's Used
|
| Unlocks the blue door in the Training Facility 2F east wing studio.
|

| Location
|
| Training Facility 2F, east wing studio, near the blue door bearing the wind motif.
|
| Where It's Used
|
| The body portion of the Statue of Good.
|

Unlockables
| Rank |
Time |
Unlock
|
| S |
3:30 or less |
Closet Key, Sub-Machinegun, Rocket Launcher, Leech Hunter
|
| A |
5:00 - 3:31 |
Closet Key, Sub-Machinegun, Leech Hunter
|
| B |
7:00 - 5:01 |
Closet Key, Leech Hunter
|
| C |
9:00 - 7:01 |
Closet Key, Leech Hunter
|
| D |
9:01+ |
Closet Key, Leech Hunter
|
Leech Hunter Prizes
| Rank |
Leeches |
Item |
Note
|
| A |
100 |
All Weapons |
Any Weapon found has unlimited ammo
|
| B |
99 - 90 |
Magnum Revolver |
Special weapon found in train room 202
|
| C |
89 - 60 |
Hunting Gun |
Unlimited ammo when found
|
| D |
59 - 30 |
Handgun |
Equipped Handguns are unlimited
|
| E |
29 - 01 |
Sub-Machinegun Bullets |
Added to Rebecca's items
|
