Difference between revisions of "Resident Evil Revelations - Puzzles"
Hobbes 182 (talk | contribs) |
Hobbes 182 (talk | contribs) |
||
| (8 intermediate revisions by the same user not shown) | |||
| Line 1: | Line 1: | ||
[[File:Resident Evil Revelations.png|thumb|308px]] | [[File:Resident Evil Revelations.png|thumb|308px]] | ||
<div style="float:right; clear:both; margin-left:0.5em;">__TOC__</div> | <div style="float:right; clear:both; margin-left:0.5em;">__TOC__</div> | ||
| + | |||
| + | ==GOBLIN6 Forum Discussion== | ||
| + | Looking to discuss Resident Evil Revelations? Post [https://forum.goblin6.com/forumG6/viewforum.php?f=10 '''here''']. | ||
== Handprint Locations == | == Handprint Locations == | ||
| Line 194: | Line 197: | ||
Scan the window in the control room. | Scan the window in the control room. | ||
| − | [[File:Biohazardrev1 01100.jpg|500px]] | + | [[File:Biohazardrev1 01100.jpg|border|500px]] |
| − | [[File:Biohazardrev1 01101.jpg|500px]] | + | [[File:Biohazardrev1 01101.jpg|border|500px]] |
>> Handprint # 24 << | >> Handprint # 24 << | ||
| Line 202: | Line 205: | ||
Scan the lockers before the Sterilization Chamber. | Scan the lockers before the Sterilization Chamber. | ||
| − | [[File:Biohazardrev1 01201.jpg|500px]] | + | [[File:Biohazardrev1 01201.jpg|border|500px]] |
| − | [[File:Biohazardrev1 01202.jpg|500px]] | + | [[File:Biohazardrev1 01202.jpg|border|500px]] |
>> Handprint # 25 << | >> Handprint # 25 << | ||
| Line 210: | Line 213: | ||
Scan the fish tank from the south side. | Scan the fish tank from the south side. | ||
| − | [[File:Biohazardrev1 01217.jpg|500px]] | + | [[File:Biohazardrev1 01217.jpg|border|500px]] |
| − | [[File:Biohazardrev1 01218.jpg|500px]] | + | [[File:Biohazardrev1 01218.jpg|border|500px]] |
>> Handprint # 26 << | >> Handprint # 26 << | ||
| Line 218: | Line 221: | ||
Scan the first archway in the oval-shaped corridor. | Scan the first archway in the oval-shaped corridor. | ||
| − | [[File:Biohazardrev1 01221.jpg|500px]] | + | [[File:Biohazardrev1 01221.jpg|border|500px]] |
| − | [[File:Biohazardrev1 01222.jpg|500px]] | + | [[File:Biohazardrev1 01222.jpg|border|500px]] |
=== <u> '''Episode 09: No Exit''' </u> === | === <u> '''Episode 09: No Exit''' </u> === | ||
| Line 228: | Line 231: | ||
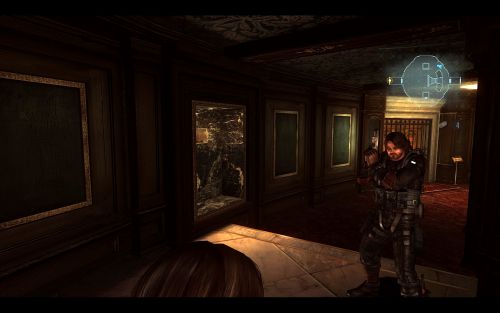
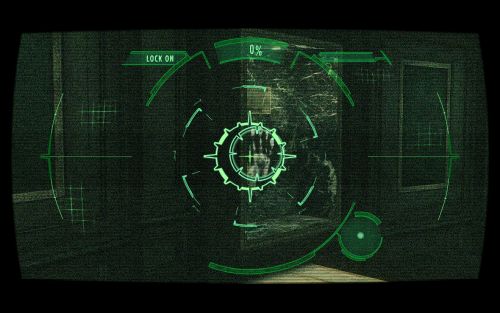
Scan the computer desk in the morgue. | Scan the computer desk in the morgue. | ||
| − | [[File:Biohazardrev1 01320.jpg|500px]] | + | [[File:Biohazardrev1 01320.jpg|border|500px]] |
| − | [[File:Biohazardrev1 01321.jpg|500px]] | + | [[File:Biohazardrev1 01321.jpg|border|500px]] |
=== <u> '''Episode 10: Tangled Webs''' </u> === | === <u> '''Episode 10: Tangled Webs''' </u> === | ||
| Line 242: | Line 245: | ||
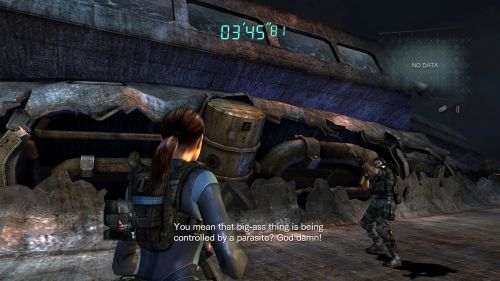
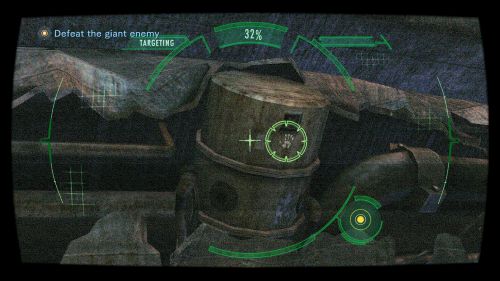
Scan the cylindrical tank once the Malacoda Boss fight begins. | Scan the cylindrical tank once the Malacoda Boss fight begins. | ||
| − | [[File:Biohazardrev1 01505.jpg|500px]] | + | [[File:Biohazardrev1 01505.jpg|border|500px]] |
| − | [[File:Biohazardrev1 01506.jpg|500px]] | + | [[File:Biohazardrev1 01506.jpg|border|500px]] |
=== <u> '''Episode 12: The Queen is Dead''' </u> === | === <u> '''Episode 12: The Queen is Dead''' </u> === | ||
| Line 252: | Line 255: | ||
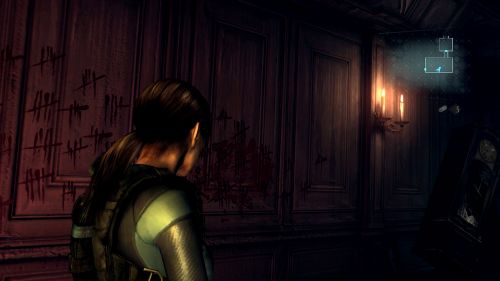
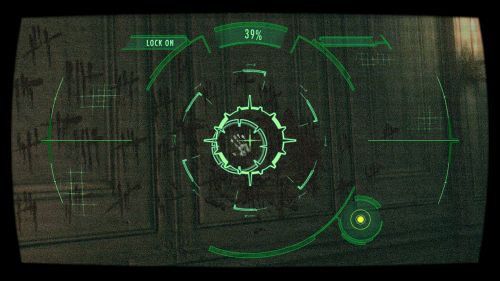
Scan the scribbles on the wall in the dining hall. | Scan the scribbles on the wall in the dining hall. | ||
| − | [[File:Biohazardrev1 01720.jpg|500px]] | + | [[File:Biohazardrev1 01720.jpg|border|500px]] |
| − | [[File:Biohazardrev1 01721.jpg|500px]] | + | [[File:Biohazardrev1 01721.jpg|border|500px]] |
>> Handprint # 30 << | >> Handprint # 30 << | ||
| Line 260: | Line 263: | ||
Scan the boards beneath Norman's alter. | Scan the boards beneath Norman's alter. | ||
| − | [[File:Biohazardrev1 01772.jpg|500px]] | + | [[File:Biohazardrev1 01772.jpg|border|500px]] |
| − | [[File:Biohazardrev1 01773.jpg|500px]] | + | [[File:Biohazardrev1 01773.jpg|border|500px]] |
== Unlockables == | == Unlockables == | ||
| − | + | {{CategoryHeader}} | |
| + | {{CategoryNewcolumn}} | ||
| + | |||
| + | |||
| + | ==Campaign difficulties== | ||
* New Game+ - Once you beat the game on any setting, you'll unlock a New Game+ mode. This lets you play the game again while keeping all your existing weapons and upgrades. | * New Game+ - Once you beat the game on any setting, you'll unlock a New Game+ mode. This lets you play the game again while keeping all your existing weapons and upgrades. | ||
* Infernal Mode - Infernal Mode (previously known as Hell Mode on 3DS), is Resident Evil: Revelations' toughest difficulty level. You can unlock it by beating the game on Normal or Hard. | * Infernal Mode - Infernal Mode (previously known as Hell Mode on 3DS), is Resident Evil: Revelations' toughest difficulty level. You can unlock it by beating the game on Normal or Hard. | ||
| − | + | ==Unlockable weapons== | |
* Hydra Shotgun - Complete the game on Normal difficulty or higher | * Hydra Shotgun - Complete the game on Normal difficulty or higher | ||
| Line 278: | Line 285: | ||
* Rifle PSG1 - Scan 15 hidden handprints | * Rifle PSG1 - Scan 15 hidden handprints | ||
| − | + | ==Unlockable custom parts== | |
* Auto Loader - Complete Casual difficulty or higher without using green herbs or the Infinite Rocket Launcher | * Auto Loader - Complete Casual difficulty or higher without using green herbs or the Infinite Rocket Launcher | ||
| Line 286: | Line 293: | ||
* Long Magazine 2 - Successfully deal damage with ten fully charged melee attacks | * Long Magazine 2 - Successfully deal damage with ten fully charged melee attacks | ||
| − | + | ==Unlockable Raid Mode Stages== | |
* Stages 4-7 - Complete Episodes 1-3 in Campaign Mode | * Stages 4-7 - Complete Episodes 1-3 in Campaign Mode | ||
| Line 294: | Line 301: | ||
* Bonus Stage 21 - Complete Campaign Mode | * Bonus Stage 21 - Complete Campaign Mode | ||
| − | + | ==Unlockable Raid Mode difficulties== | |
* Trench (Normal) difficulty - Complete all Raid Mode stages on Chasm difficulty | * Trench (Normal) difficulty - Complete all Raid Mode stages on Chasm difficulty | ||
* Abyss (Hard) difficulty - Complete all Raid Mode stages on Trench difficulty | * Abyss (Hard) difficulty - Complete all Raid Mode stages on Trench difficulty | ||
| − | + | ==Unlockable Raid mode characters== | |
* Clive O'Brian - Reach player level 20 in Raid Mode | * Clive O'Brian - Reach player level 20 in Raid Mode | ||
| Line 306: | Line 313: | ||
* Raymond Vester - Reach player level 10 in Raid Mode | * Raymond Vester - Reach player level 10 in Raid Mode | ||
| − | + | {{CategoryNewcolumn}} | |
| + | |||
| + | ==Unlockable Raid mode costumes== | ||
* Jill (diver costume) - Available from the start of Raid Mode | * Jill (diver costume) - Available from the start of Raid Mode | ||
| Line 330: | Line 339: | ||
* Hunk (Lady Hunk costume) - Available from the start of Raid Mode | * Hunk (Lady Hunk costume) - Available from the start of Raid Mode | ||
| − | + | ==Unlockable name colors== | |
* Green - Earn an S rank on every level of Chasm difficulty in Raid Mode | * Green - Earn an S rank on every level of Chasm difficulty in Raid Mode | ||
| Line 340: | Line 349: | ||
* Red - Get 200 bonuses | * Red - Get 200 bonuses | ||
* Purple - Get 244 bonuses | * Purple - Get 244 bonuses | ||
| + | |||
| + | {{CategoryEnd}} | ||
| + | |||
| + | [[Category:Puzzles]] | ||
Latest revision as of 14:36, 27 September 2021
GOBLIN6 Forum Discussion
Looking to discuss Resident Evil Revelations? Post here.
Handprint Locations
Episode 01: Into the Depths
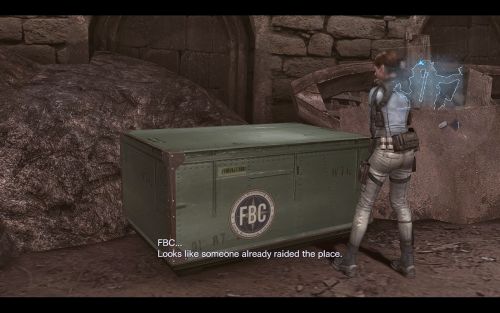
>> Handprint # 01 <<
Scan the FBC crate on the West end of the beach.
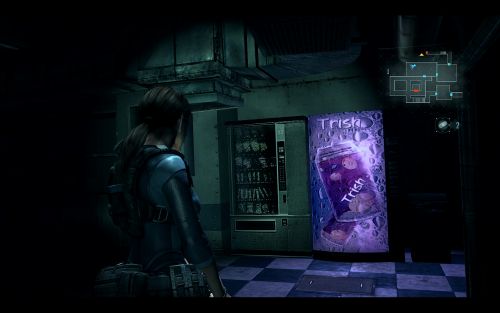
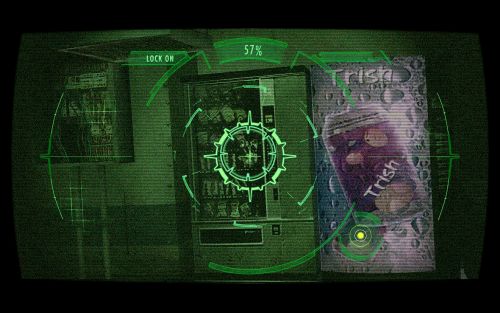
>> Handprint # 02 <<
Scan the Purple Vending Machine in the Cafeteria.
>> Handprint # 03 <<
Scan the bloody handprints near the vent.
>> Handprint # 04 <<
Scan the X-RAYS after finding Rachel.
Episode 02: Double Mystery
>> Handprint # 05 <<
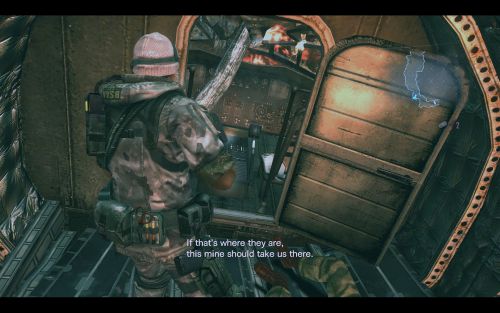
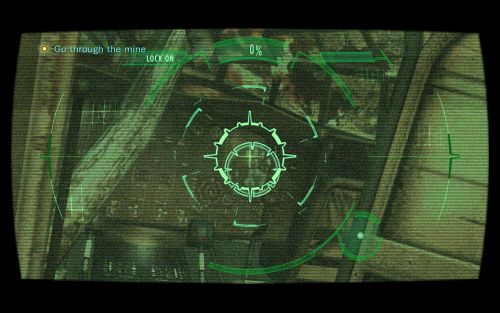
Scan the cockpit in the crashed plane.
>> Handprint # 06 <<
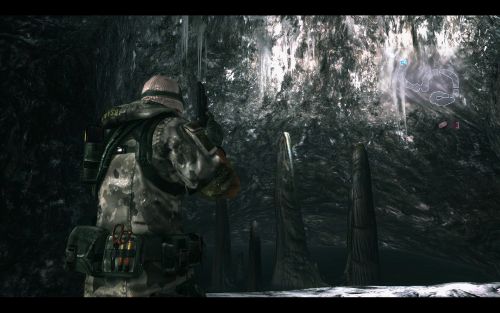
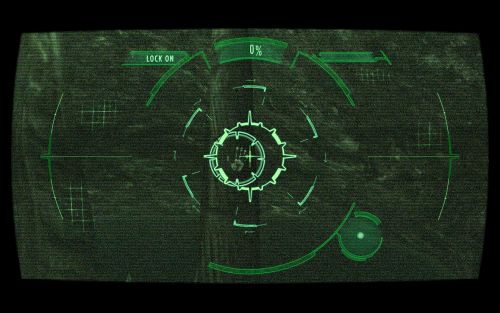
Scan the rock formation in the cave.
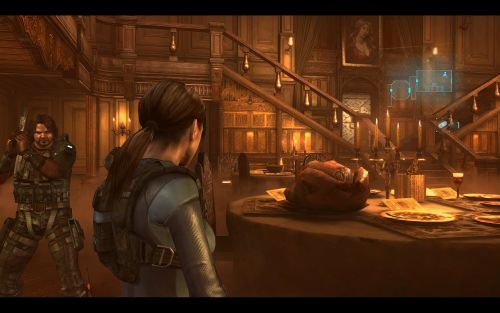
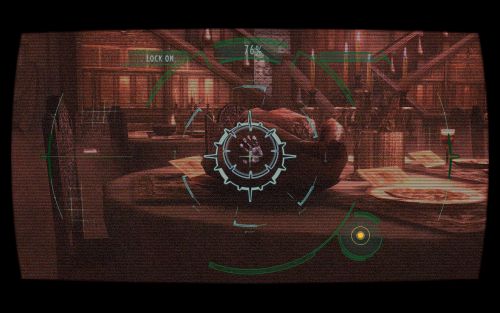
>> Handprint # 07 <<
Scan Turkey in the large Dining Area.
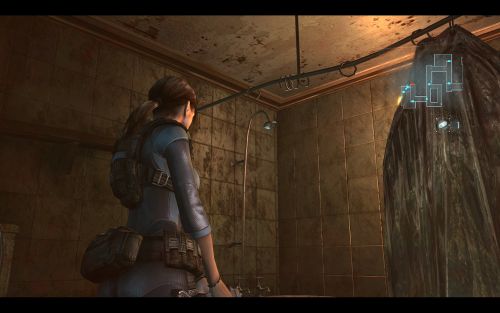
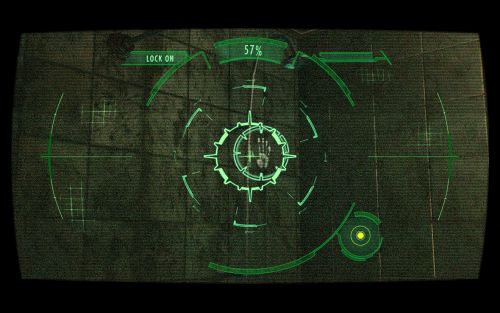
>> Handprint # 08 <<
Scan the showerhead in the room you woke up in.
>> Handprint # 09 <<
Scan the window in the ship's Bridge.
Episode 03: Ghosts of Veltro
>> Handprint # 10 <<
Scan the wall in front of the Communication Room entrance.
>> Handprint # 11 <<
Scan the wall near the bottom of the stairs.
>> Handprint # 12 <<
Scan the fuse box in the Solarium.
>> Handprint # 13 <<
Scan the kitchen cupboard in the Promenade.
>> Handprint # 14 <<
Scan the crate inside the Comms Officer room.
>> Handprint # 15 <<
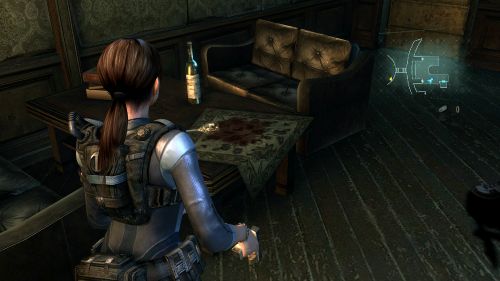
Scan the spilled wine glass in the Deck eating area.
Episode 04: A Nightmare Revisited
>> Handprint # 16 <<
Scan the diving board in the Solarium.
>> Handprint # 17 <<
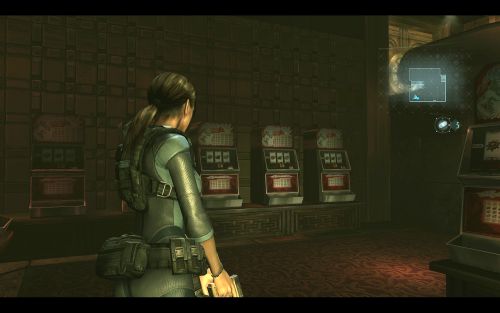
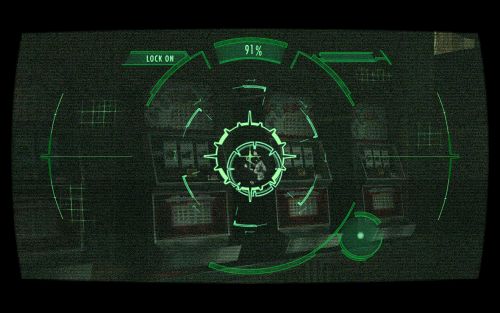
Scan the slot machine in the Casino, southwest corner.
>> Handprint # 18 <<
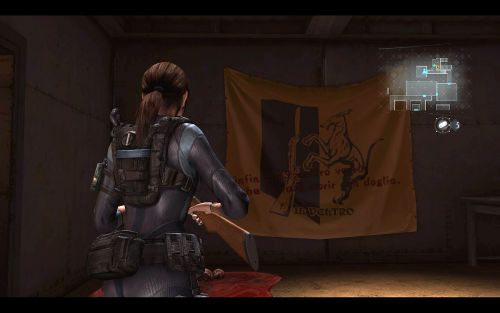
Scan the Veltro flag in the room where Chris' dummy is located.
Episode 05: Secrets Uncovered
>> Handprint # 19 <<
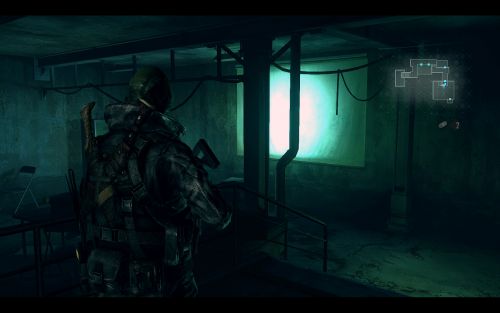
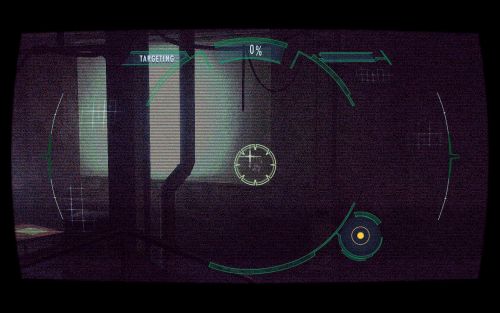
Scan the projector in the room with the Veltro flag.
>> Handprint # 20 <<
Scan the books next to the door in the elevator room.
Episode 06: Cat and Mouse
>> Handprint # 21 <<
Scan the fusebox outside after the Bludgeon Boss.
Episode 07: The Regia Solis
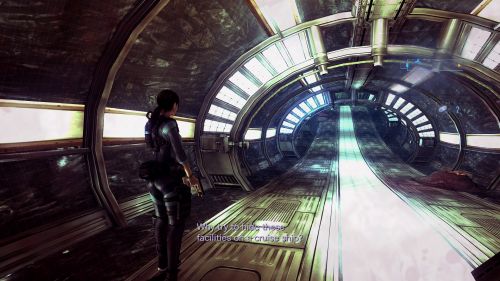
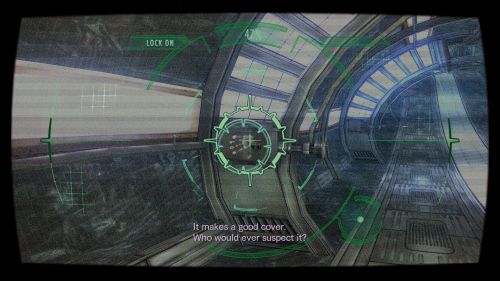
>> Handprint # 22 <<
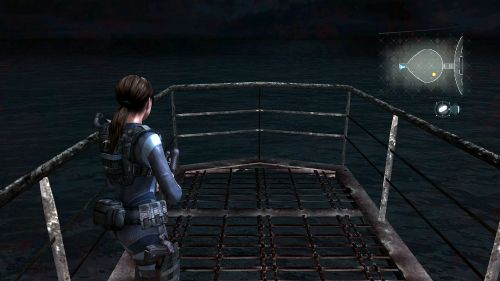
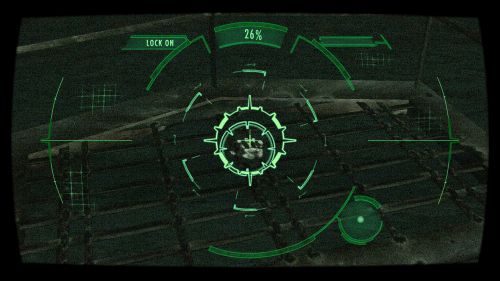
Scan the ship's prow, where the drone is located.
Episode 08: All on the Line
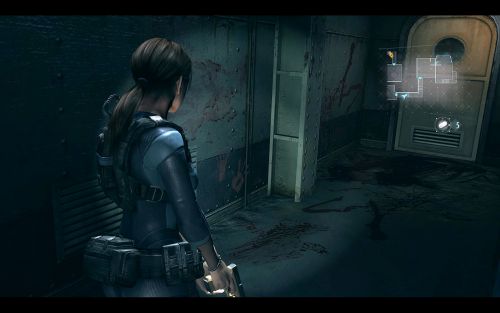
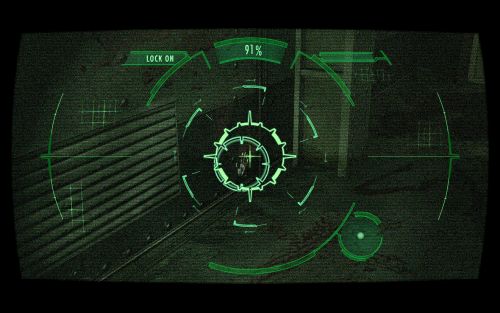
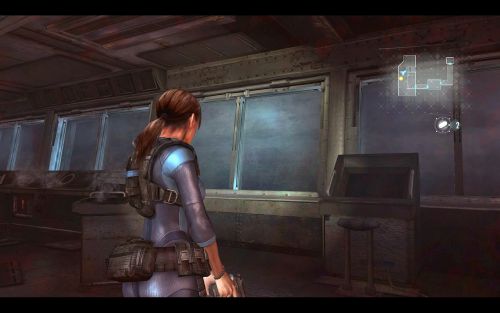
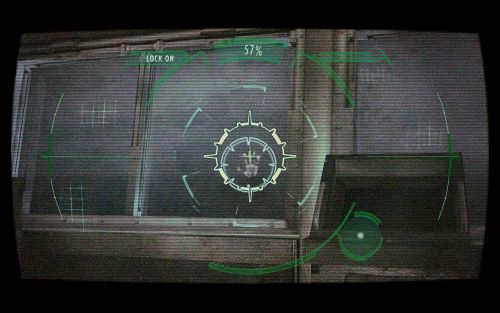
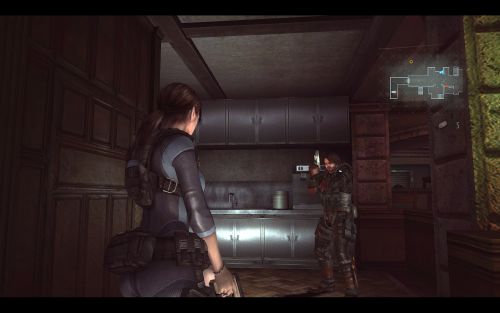
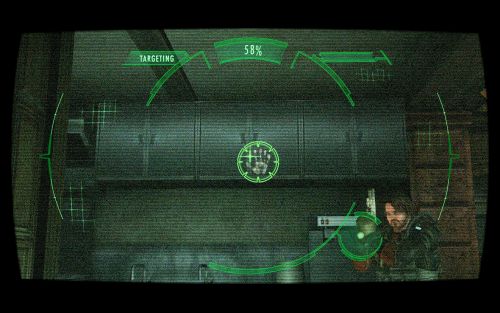
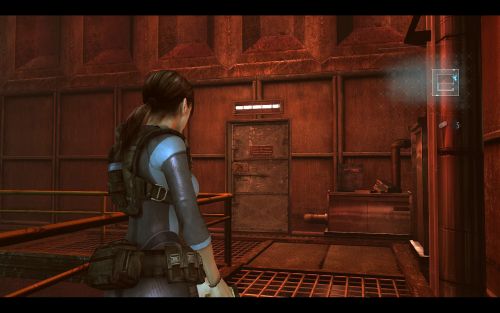
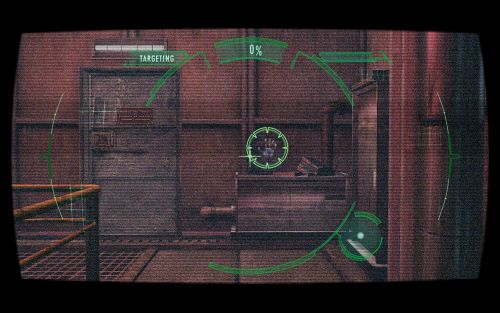
>> Handprint # 23 <<
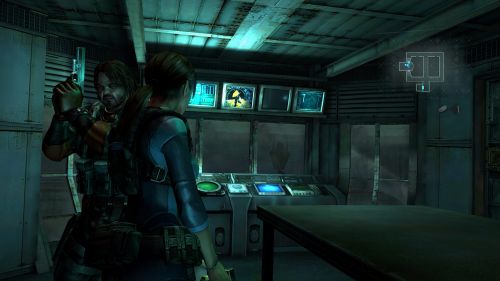
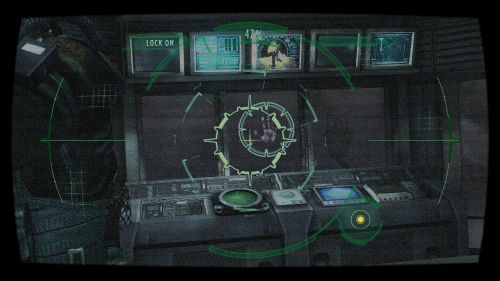
Scan the window in the control room.
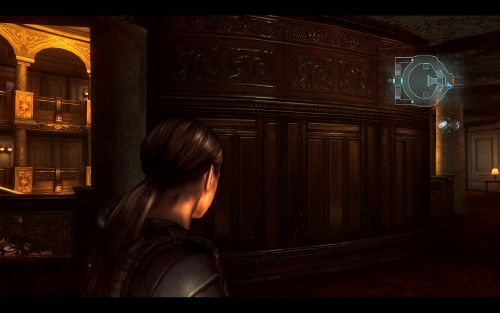
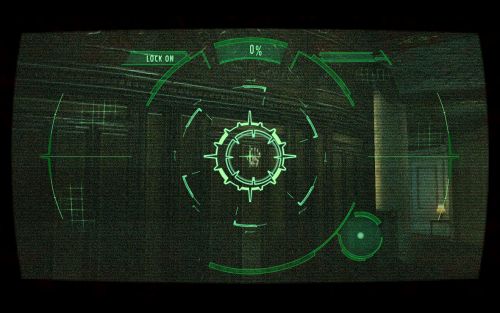
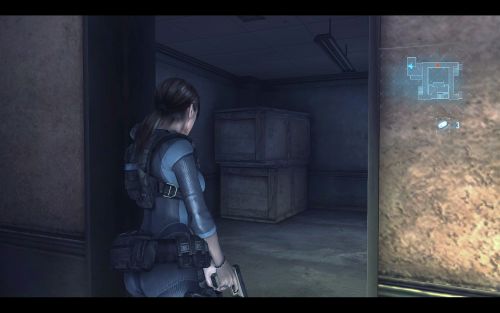
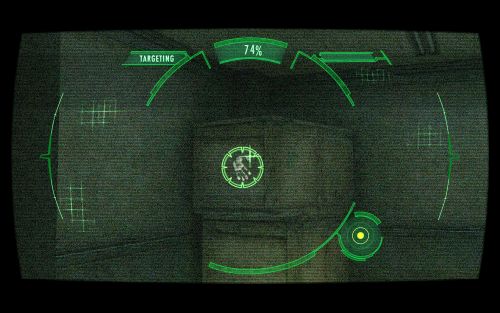
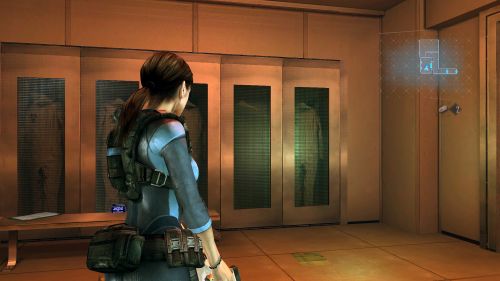
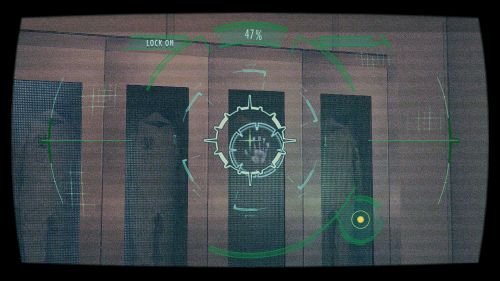
>> Handprint # 24 <<
Scan the lockers before the Sterilization Chamber.
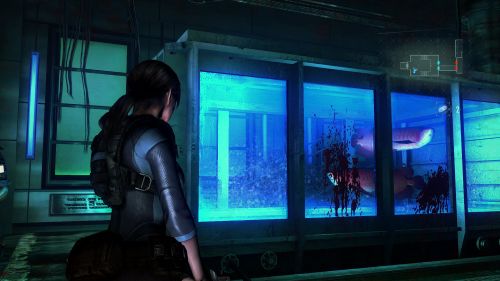
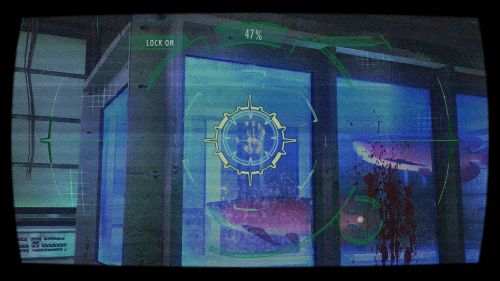
>> Handprint # 25 <<
Scan the fish tank from the south side.
>> Handprint # 26 <<
Scan the first archway in the oval-shaped corridor.
Episode 09: No Exit
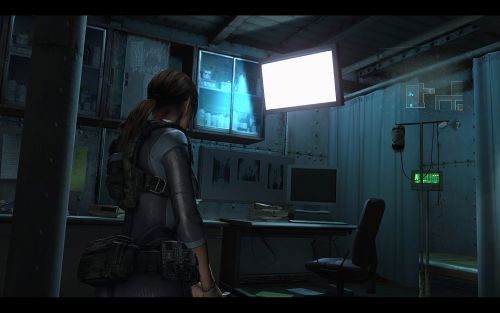
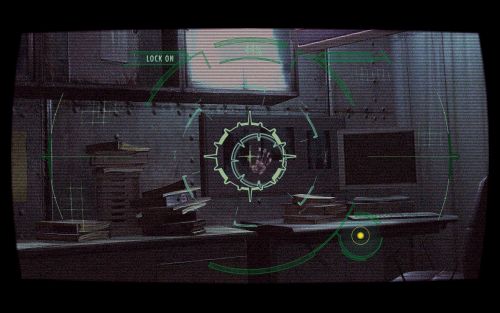
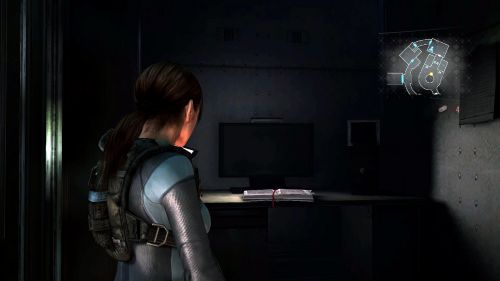
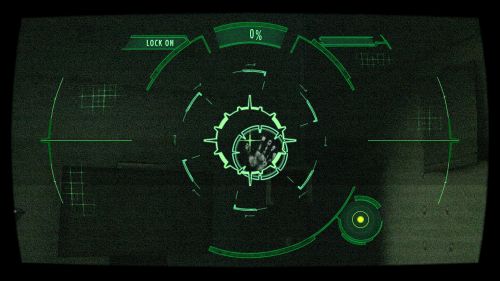
>> Handprint # 27 <<
Scan the computer desk in the morgue.
Episode 10: Tangled Webs
THIS EPISODE HAS NO HANDPRINTS
Episode 11: Revelations
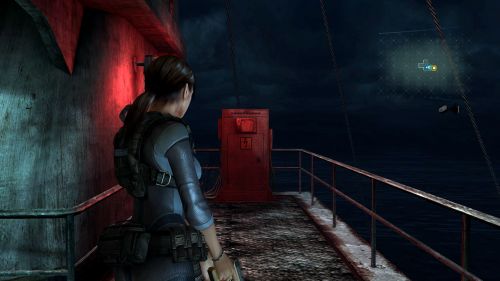
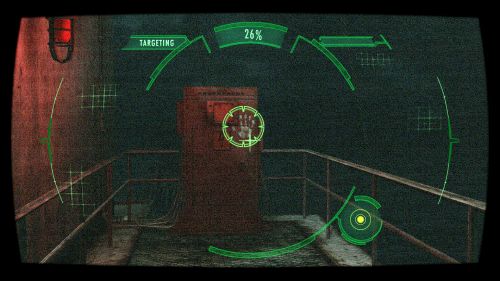
>> Handprint # 28 <<
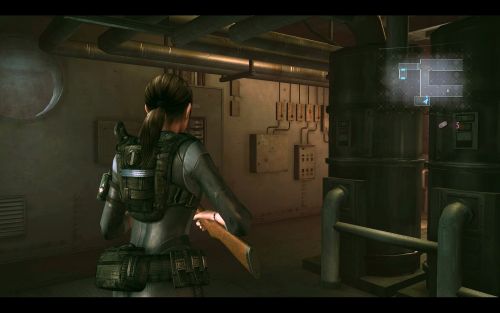
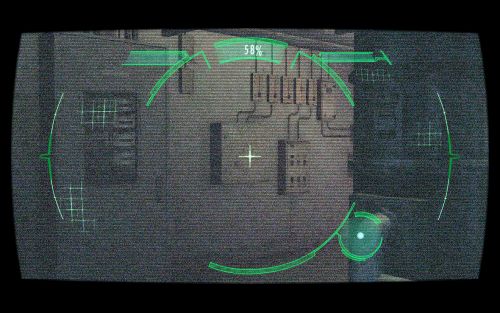
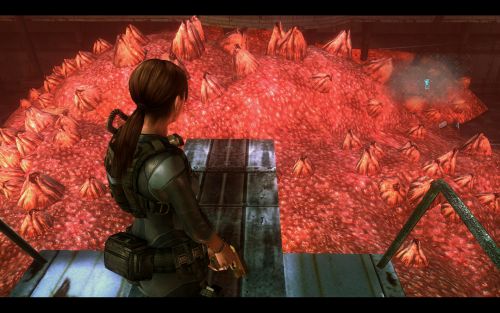
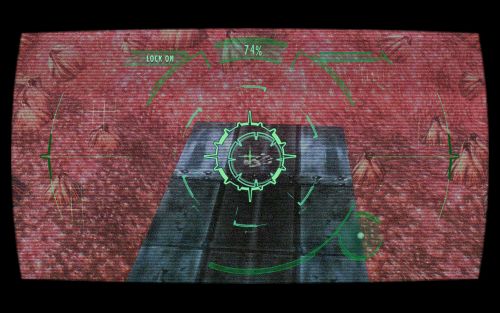
Scan the cylindrical tank once the Malacoda Boss fight begins.
Episode 12: The Queen is Dead
>> Handprint # 29 <<
Scan the scribbles on the wall in the dining hall.
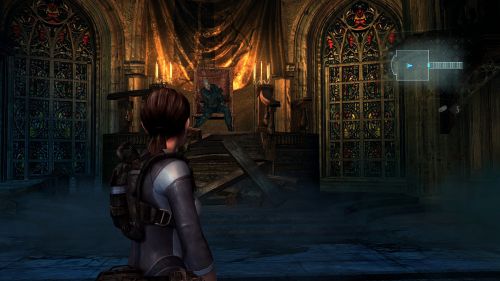
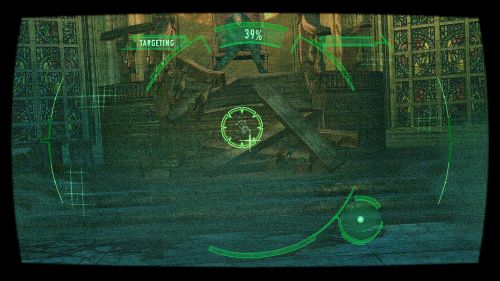
>> Handprint # 30 <<
Scan the boards beneath Norman's alter.
Unlockables
|
Campaign difficulties
Unlockable weapons
Unlockable custom parts
Unlockable Raid Mode Stages
Unlockable Raid Mode difficulties
Unlockable Raid mode characters
|
Unlockable Raid mode costumes
Unlockable name colors
|
